Hero Debug
General
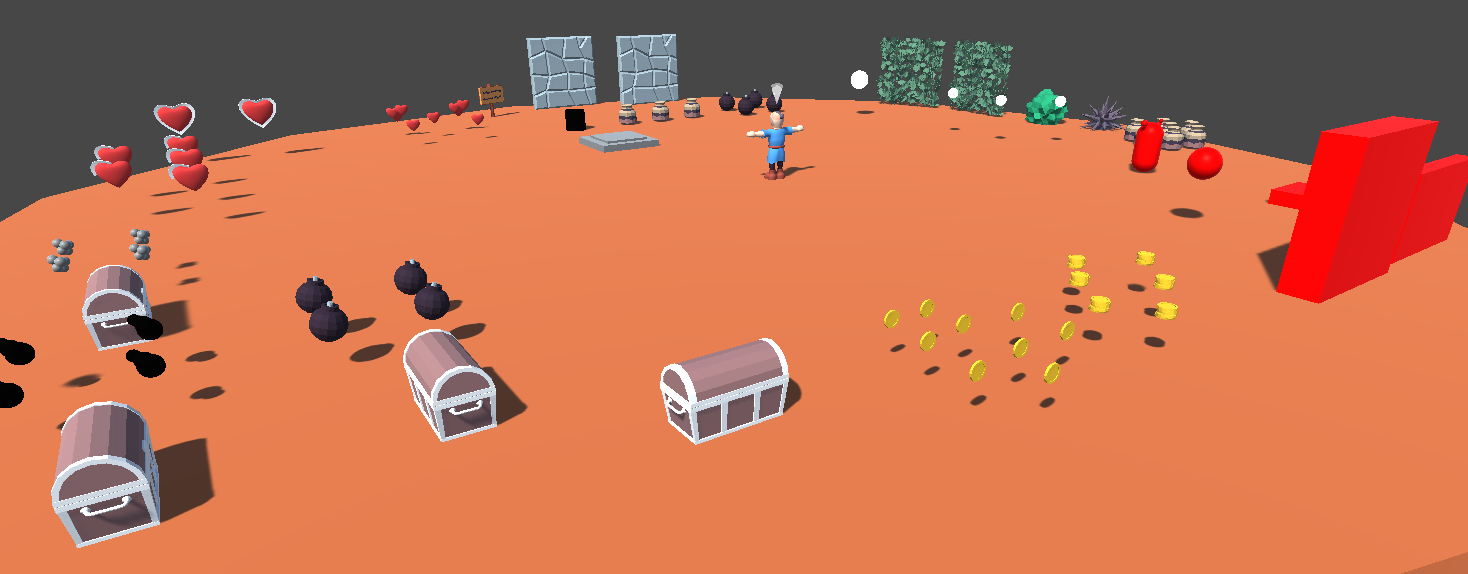
Features a wide variety of items and objects. The hero character starts with a filled inventory and equipped items.
The white spheres in front of the destructible bushes contain lock on points which can be used to test out the lock on system. The slightly larger sphere also contains an test action that can be started as a context action whenever it is locked on. This could theoretically be used to read signs from a distance or talk to NPCs sitting out of regular action area reach.
The red blocks and spheres can be used to test out damage. The blocks have damages senders with different damage values, magnitudes and directions. The red capsule also contains a minimal enemy setup. This includes the stun resource so it can be used to test out the stunning nut equipment item.
The opposite side has some items that can be carried. The pots spawn different pickups as defined in Destroyed Prefab. The bombs ignite as soon as they are picked up which can not be found in the regular stages. The cylindric black CarryObject can be placed on the pressure place in front of it which can be detected in its Trigger.
Loading
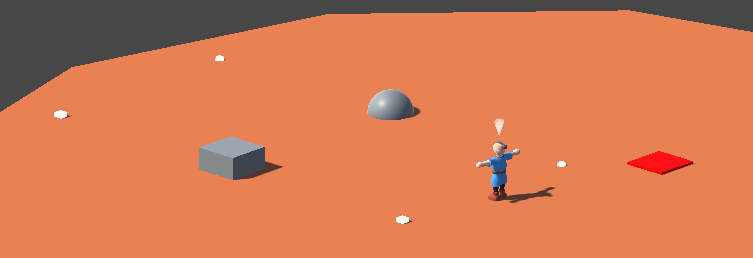
This scene can be used to test out and debug the Entry logic that is defined in each scene and the Exit logic used by the HeroExitTrunk and HeroExitPassage objects.
It features two different Exits that both load back into HeroDebuggingLoading, they set Parameter to different values which is then used in the Entry visual script.
The timelines used when entering and exiting use a MarchTrack that moves the character towards a configured transform. These transforms are visualized with white spheres here.
The red box in the scene instantly kills the character which lets us test out the Die action and the Entry scenario with an empty Parameter.
Passage
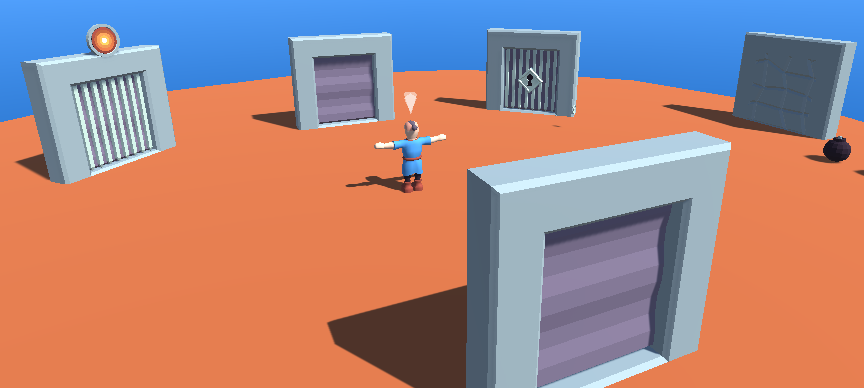
Contains different variations of the HeroPassage prefab. Only HeroExitPassage is more of a variation on the HeroExitTrunk but using the model from the passage.
The root of the passage contains a StateManager that is used to set a couple different objects active or inactive together. For example if the HeroPassageLocked variant detects that it has previously been unlocked it sets the manager to the OPEN state. Otherwise we would have to separately deactivate both locks and activate the entry areas which would all have to be exposed to the visual script.
The enter actions themselves use a TimelineAction to open the passage, march the character through and then close it again. It activates different virtual cameras that show the character entering and exiting. The HeroReset signal is sent during the timeline which resets the third person camera to the camera position of the virtual camera.
The passage variants used in the Temple scene are described there. The Inland scene contains a passage exit blocked by a cracked wall.
Skeleton

This scene can be used to quickly try out combat. It contains three skeletons that pop up when the player enters their area. The player starts out with equipped sword, shield and equipment items.
The skeleton itself is also described in the Inland scene where the player usually first encounters that enemy.
Block
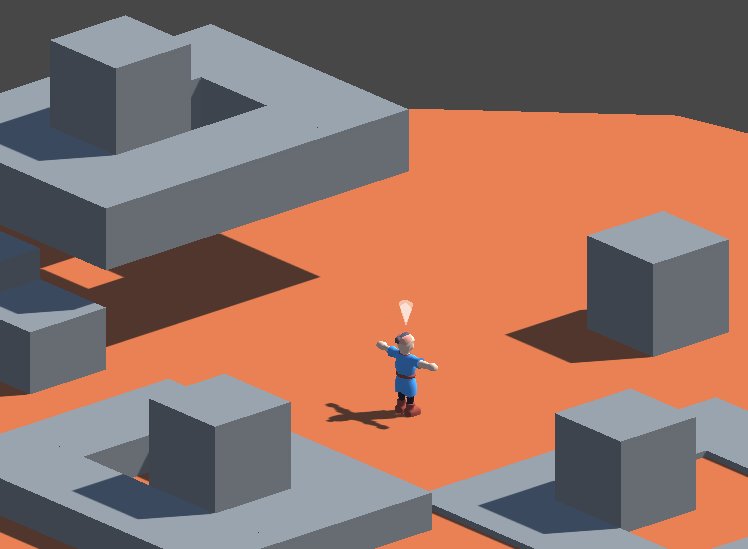
Shows off a couple more things that could be done with the movable HeroBlock object in addition to its usage in the Temple scene.
There is a regular block in front of the character which can be pushed or pulled in any direction. To their right is a block that is limited in its movement. The block behind the player can be pushed into a hole with a trigger which activates a red sphere here. The raised area to the characters left can be used to test how a block behaves when it falls through a hole.
Climbing
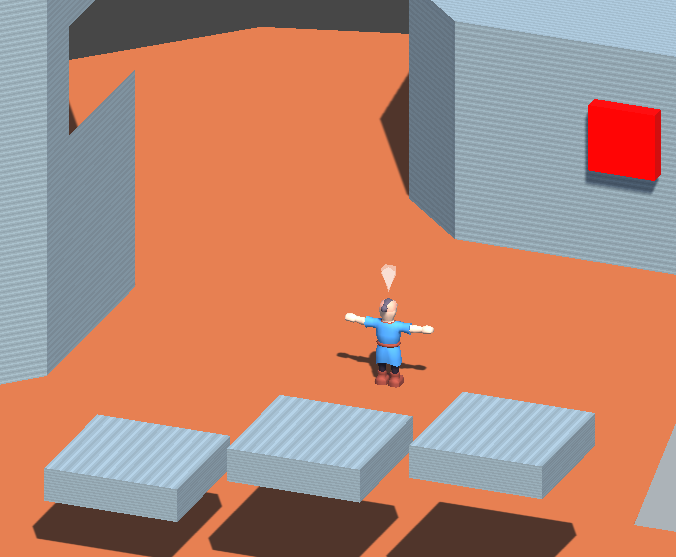
Contains a couple different ways to set up a CLIMB trigger for the HeroClimbAction.
The wall to the characters left combines three separate colliders into one rigidbody with a single trigger area. This allows us to have a hole in a wall using convex colliders. The climb action can only use one area at a time, moving between areas mid climb is not possible.
In front of the character is a plateau that can be used to test out pulling up onto a higher level. It also has a damage sender for testing out damage while the character is climbing.
The small platforms behind the player are climbable but too small to actually climb on. This results in the character always immediately pulling itself up onto the platform.
Ground
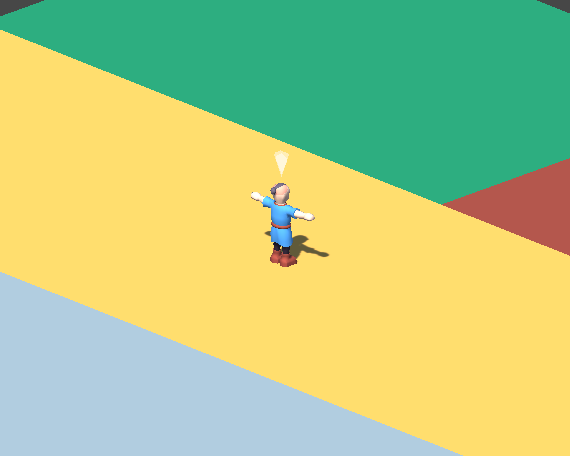
This scene is made to test the ground checker located in the sound transform in HeroSetup. The check is triggered whenever the character receives a STEP message and should play a different sound for each of the ground colors in the scene.
Triggering the GroundChecker is done by a message event in the HeroPlayerCharacter. The different options then forward different messages to the AudioManager which plays the sounds. The sand and dirt options also play a particles system which shows some dust particles.
The checker performs a raycast downwards from its own position to get the material and texture coordinate it reads the color from. For this to work the Read/Write checkbox in the textures import settings needs to be checked.
Ape
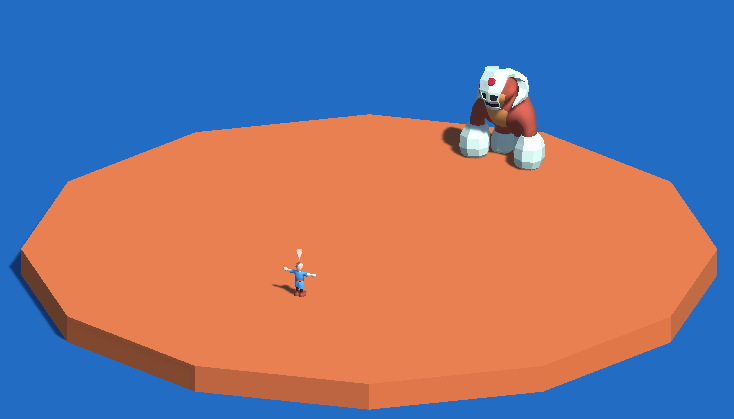
Use this scene to test out the actual fight portion of the ape boss fight. The state manager of the ape is set to its ACTION state which makes it immediately start attacking without playing its cutscene. The equipment of the hero can easily be changed in its inventory so the fight can quickly be tested with different items. Additional information about the boss fight can be found on the glade manual page.
Projectile
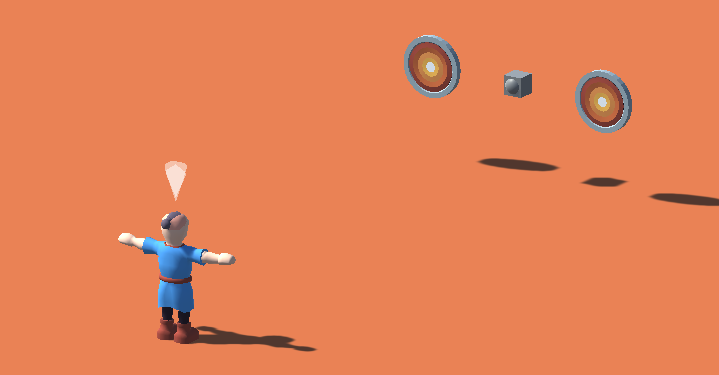
This scene contains a spawner that instantiates projectiles which move towards the player. These projectiles can be redirected while guarding with the knight shield. This is controlled by the DeflectedDamages field on shield items. The BlockedDamages and GuardAngle of shields can also easily be tested in this scene. Deflection is done in the CheckDamage method of the HeroGuardAction which is called in the PreDamageReceive damage step of the HeroPlayerCharacter.
The projectiles can also be redirected with sword attacks. This is done using a TriggerDamageReceiver on the projectile itself which redirects the projectile in its Damaged event. By changing the called action there from Redirect to RedirectBack it could be changed to fly straight back where it came from instead of being redirected in the damage direction.
The two HeroTarget objects left and right of the spawner are triggered when hit with damage. Guard with the shield and aim at a target to redirect the projectile to them and trigger them. This could be used for puzzles in an actual game but is not currently used in any of the regular demo scenes.
Parcour
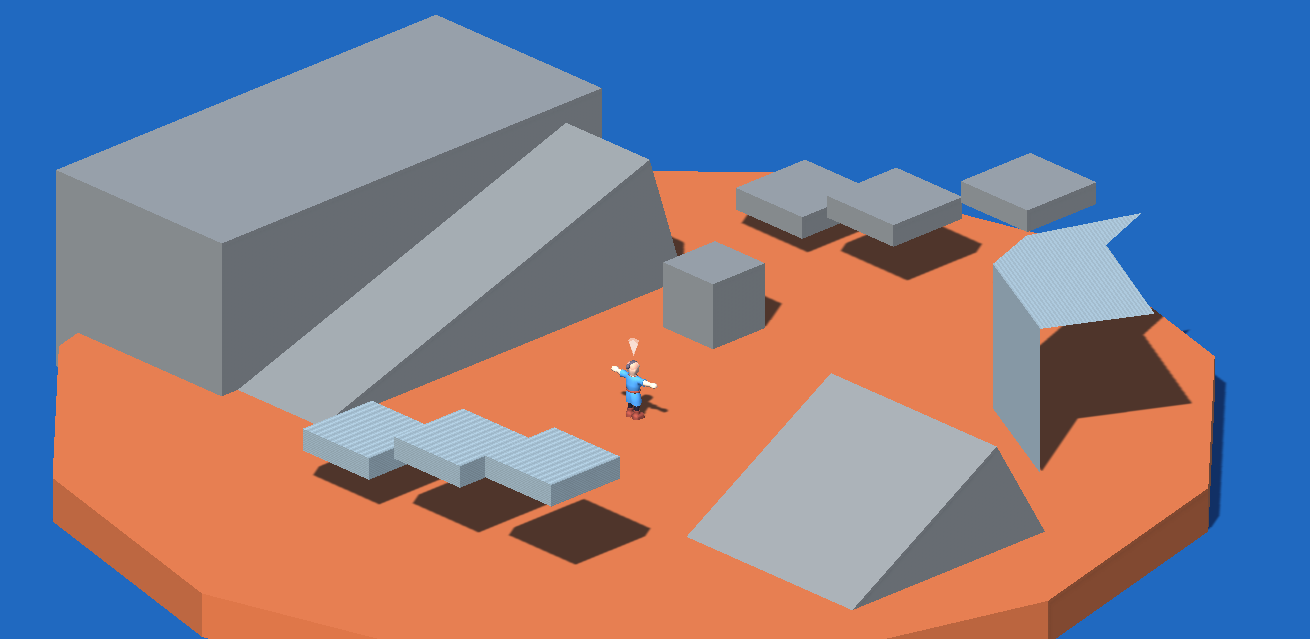
This scene demonstrates some alternate types of movement that are not currently used in the regular demo.
The script machine on …/Actor/Jump/AutoJump automatically forces a jump whenever the character leaves the ground. It only does this when it is not already jumping or climbing and the movement factor forwards is not full so the player can still walk off ledges slowly or backwards. the FALLING custom event is triggered from the CharacterControllerMovement.Falling event via a VisualScriptingHelper. Additional limitations to Auto-Jumping may be needed depending on the application, for example when the character is damaged.
Regular jumping is still enabled in addition to auto-jumping in this scene, to get an even more classic feel the jump could be removed from the PlayerInput event that triggers it.
The Climb action has its PullUpWithoutClimb field checked which allows the action to pull up onto arbitrary surfaces without a climbing trigger or having to climb first. When the field is checked the action looks for obstacles and performs the pullup raycasts, as indicated by the green lines in the scene view, before pulling up on surfaces.
Blackout
This debug scene shows how a character may be reset if it falls under the world by clipping of falling in some kind of pit. The Barrier that usually prevents this is disabled in this scene and a trigger area that starts the blackout has been placed underneath. This is not used in other scenes of the demo currently as there are no pits or other ways to jump off. The blackout works as follows.
- character walks off
- character Trigger Item enters Blackout Trigger Area
- Blackout Trigger Area sends BLACKOUT message to character
- Message Event on Character force starts Blackout Timeline Action
- Blackout Timeline blacks out camera
- Blackout Timeline sends HeroBlackout signal
- Signal Receiver handles signal and teleports character
- Blackout Timeline removes black from camera
- on Blackout Action Ending damage is send to character
To use the blackout in an actual scene simply add a blackout trigger area to the scene. Also make sure the transform in the HeroCharacter signal receiver is in a safe position.